Nginx配置訪問密碼

Nginx 配置訪問密碼

Ubuntu安裝的nginx存放網站的目錄在/var/www下,我們在這個目錄創建一個auth文件夾

1
mkdir auth

然後我們創建訪問密碼和用戶的工具htpasswd,我們需要安裝apache2-utils

1
sudo apt-get install apache2-utils

然後我們使用htpasswd創建配置文件

1
htpasswd /var/www/auth username

https://blog.meowrain.cn/api/i/2024/09/02/kFb75d1725241053002488434.webp

如圖,我們輸入兩次密碼就可以了

https://blog.meowrain.cn/api/i/2024/09/02/s9z4rk1725241155162648752.webp

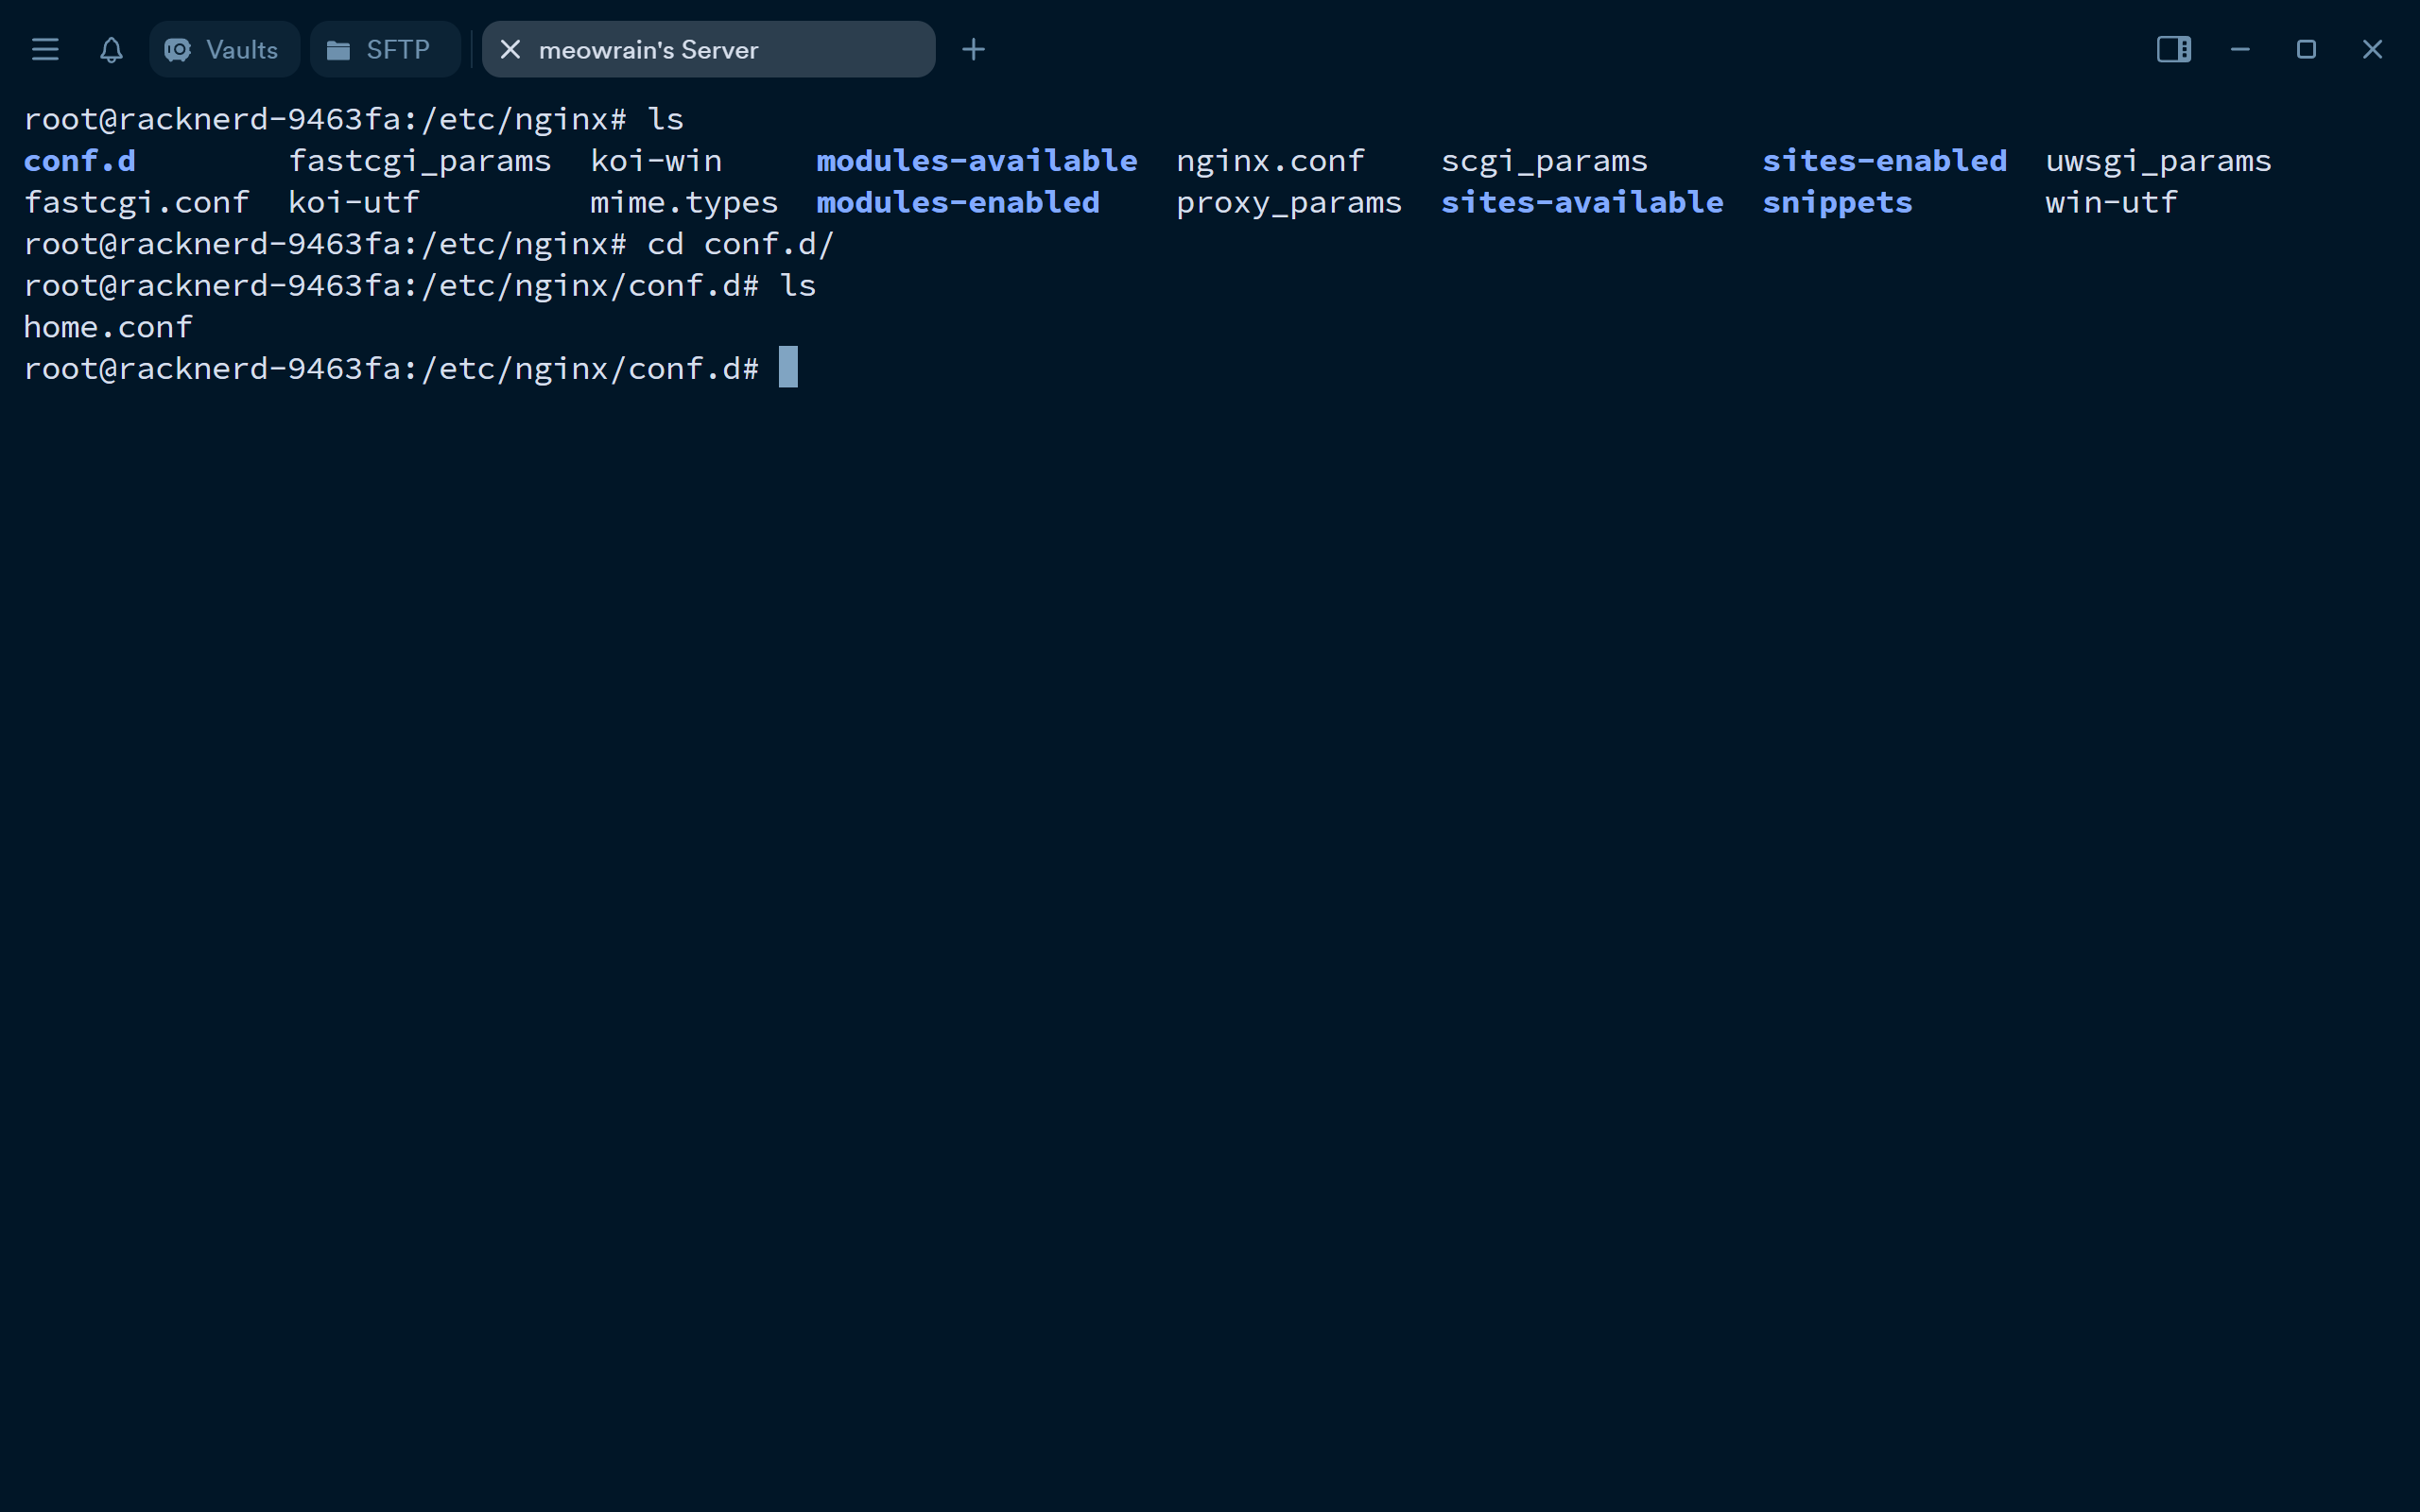
然后我们配置nginx的配置文件

1
vim /etc/nginx/conf.d/xxx.conf

https://blog.meowrain.cn/api/i/2024/09/02/9mXCS61725242026537644501.webp

https://blog.meowrain.cn/api/i/2024/09/02/3IJKGD1725242060015535483.webp

如上图。我们绑定了域名为test2.meowtwyyds.top 然后设置auth_basic 和auth_basic_user_file

 1
 2
 3
 4
 5
 6
 7
 8
 9
10
11

server {
	server_name yourdomain;
    listen port;
    location / {
    		auth_basic on;
            auth_basic_user_file /var/www/auth/htpasswd;
            root /var/www/home;
            index index.html;
            }
}

然后使用

1
nginx -s reload

进行配置文件重载,重载过后,我们就可以打开 yourdomain:port进行测试了

https://blog.meowrain.cn/api/i/2024/09/02/fnJT5E1725242222066329806.webp


相关内容

0%