警告
本文最后更新于 2024-05-18,文中内容可能已过时。
父子组件传值
父组件向子组件传值
defineProps
父组件
 1
 2
 3
 4
 5
 6
 7
 8
 9
10
11
12
13
14
15
16
17
|
<script setup lang="ts">
import { onMounted, ref } from 'vue'
import TestView from '../views/TestView.vue'
let imgUrl = ref<string>()
onMounted(async ()=>{
    const response = await fetch('https://api.waifu.pics/sfw/waifu')
    const json = await response.json()
    imgUrl.value = json.url;
})
</script>

<template>
  <div>
    <TestView :url="imgUrl"/>
  </div>
</template>
<style></style>
|
子组件
 1
 2
 3
 4
 5
 6
 7
 8
 9
10
11
12
13
14
15
16
17
18
19
20
21
22
|
<script setup lang="ts">
import { defineProps, toRef, watch, watchEffect } from 'vue';
const props = defineProps({
    url:String
})

watch(()=>props.url,(newVal,oldVal)=>{
    console.log(newVal);
},{
    flush:'post'
})

// watchEffect(()=>{
//     console.log(props.url);
// })
</script>
<template>
    <img :src="url"  width="100px" height="100px"/>
    <div>{{ url }}</div>

</template>
<style scoped ></style>
|
上面用 watch 函数就是因为刚开始还没获取数据,props 是 undefined 的,这时候如果在子组件中直接输出 props 内容,会显示 undefined. 在数据获取到后,props 才会有值
也就是说,props 是会发生一次变化的,那就正好符合 watch 函数的特性了,我们利用 watch 函数就能获取到这个 props 的新值了
子组件向父组件传值
defineEmits
子组件
 1
 2
 3
 4
 5
 6
 7
 8
 9
10
11
12
13
14
15
16
17
18
19
20
21
22
23
24
25
26
27
28
29
30
31
32
33
|
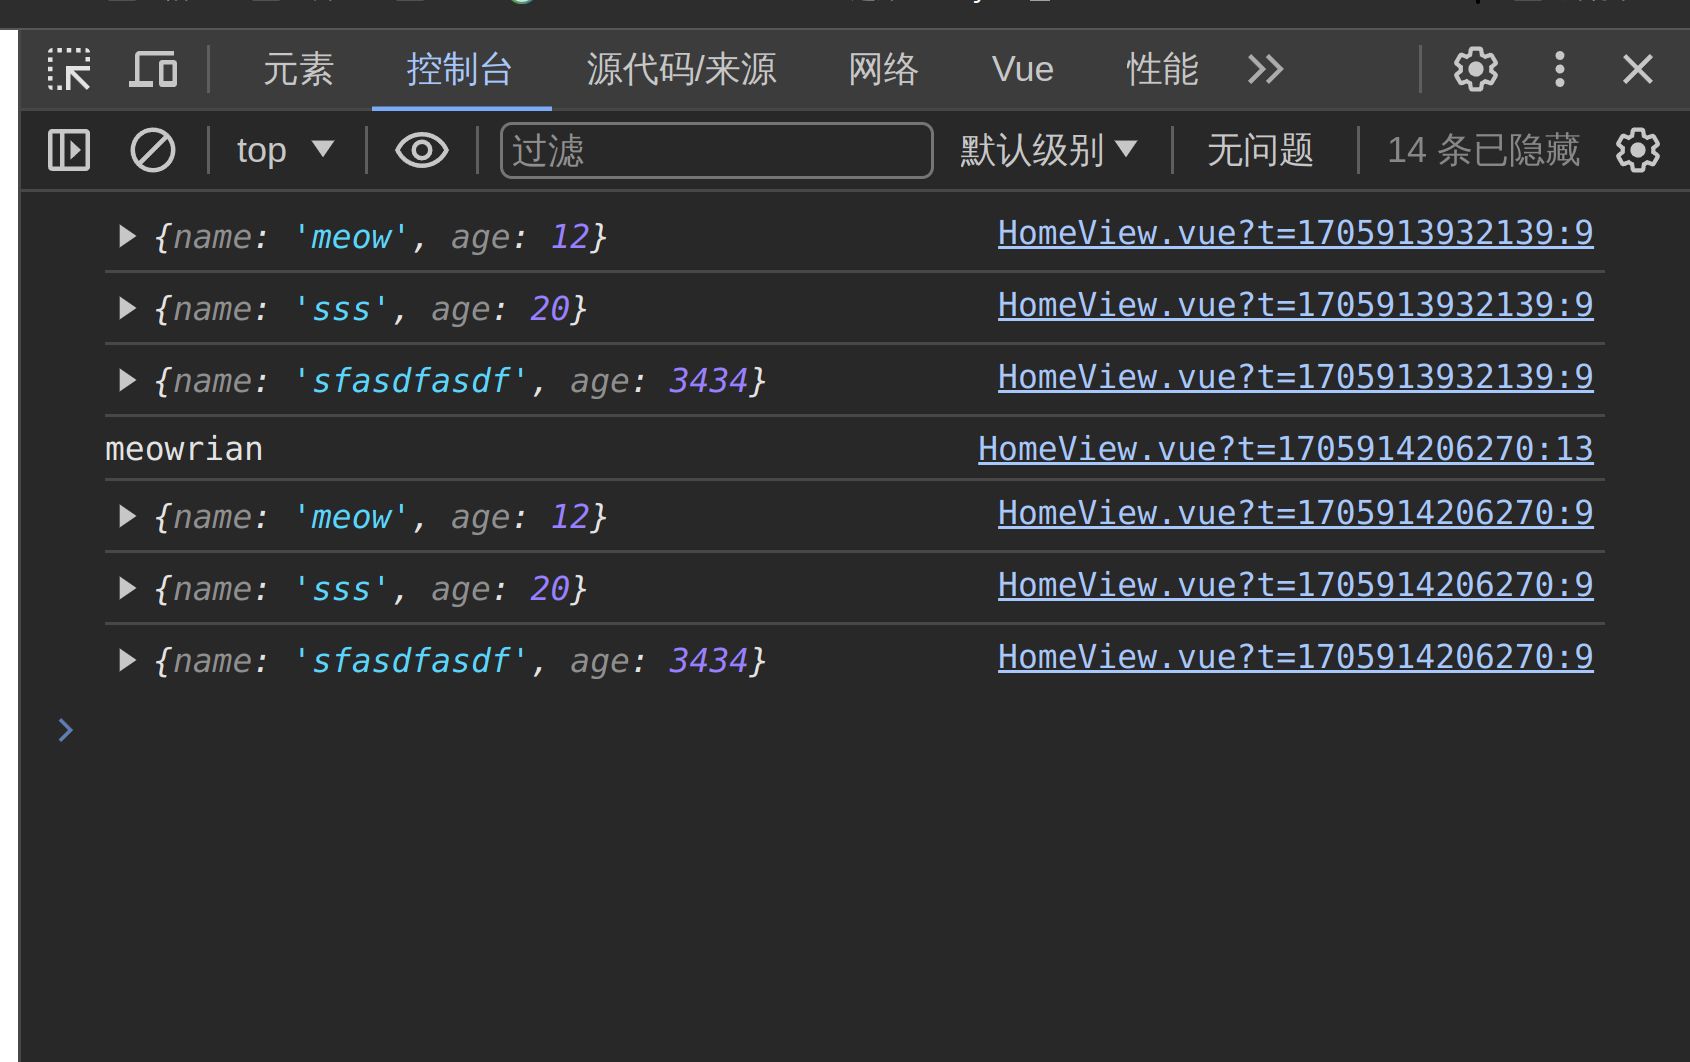
<script setup lang="ts">
const emit = defineEmits(['even','change'])
/**
 *  //这里的数组里面写的字符串是事件名,如下,低一个按钮利用even事件传递对象数组数据,第二个按钮利用change事件传递
 *  // 字符串数据,父组件使用感@even和@change 接收
 */
let send = () => {
  emit('even', [
    {
      name: 'meow',
      age: 12
    },
    {
      name: 'sss',
      age: 20
    },
    {
      name: 'sfasdfasdf',
      age: 3434
    }
  ])
}
let sned2 = ()=>{
    emit('change',"meowrian")
}
</script>
<template>
  <div>子集</div>
  <button @click="send">Send</button>
  <button @click="sned2">Send2</button>
</template>

<style scoped></style>
|
父组件
 1
 2
 3
 4
 5
 6
 7
 8
 9
10
11
12
13
14
15
16
17
18
19
|
<script setup lang="ts">
import TestView from '../views/TestView.vue'
const getName = (objsArray:Object[])=>{
    for(let obj of objsArray) {
        console.log(obj);
    }
}
const getName2 = (name:string)=>{
    console.log(name);
}
</script>

<template>
  <div>
    <TestView @even="getName" @change="getName2"/>

  </div>
</template>
<style></style>
|

子组件向父组件暴露方法和属性
defineExpose
子组件
 1
 2
 3
 4
 5
 6
 7
 8
 9
10
11
12
13
14
15
16
17
18
|
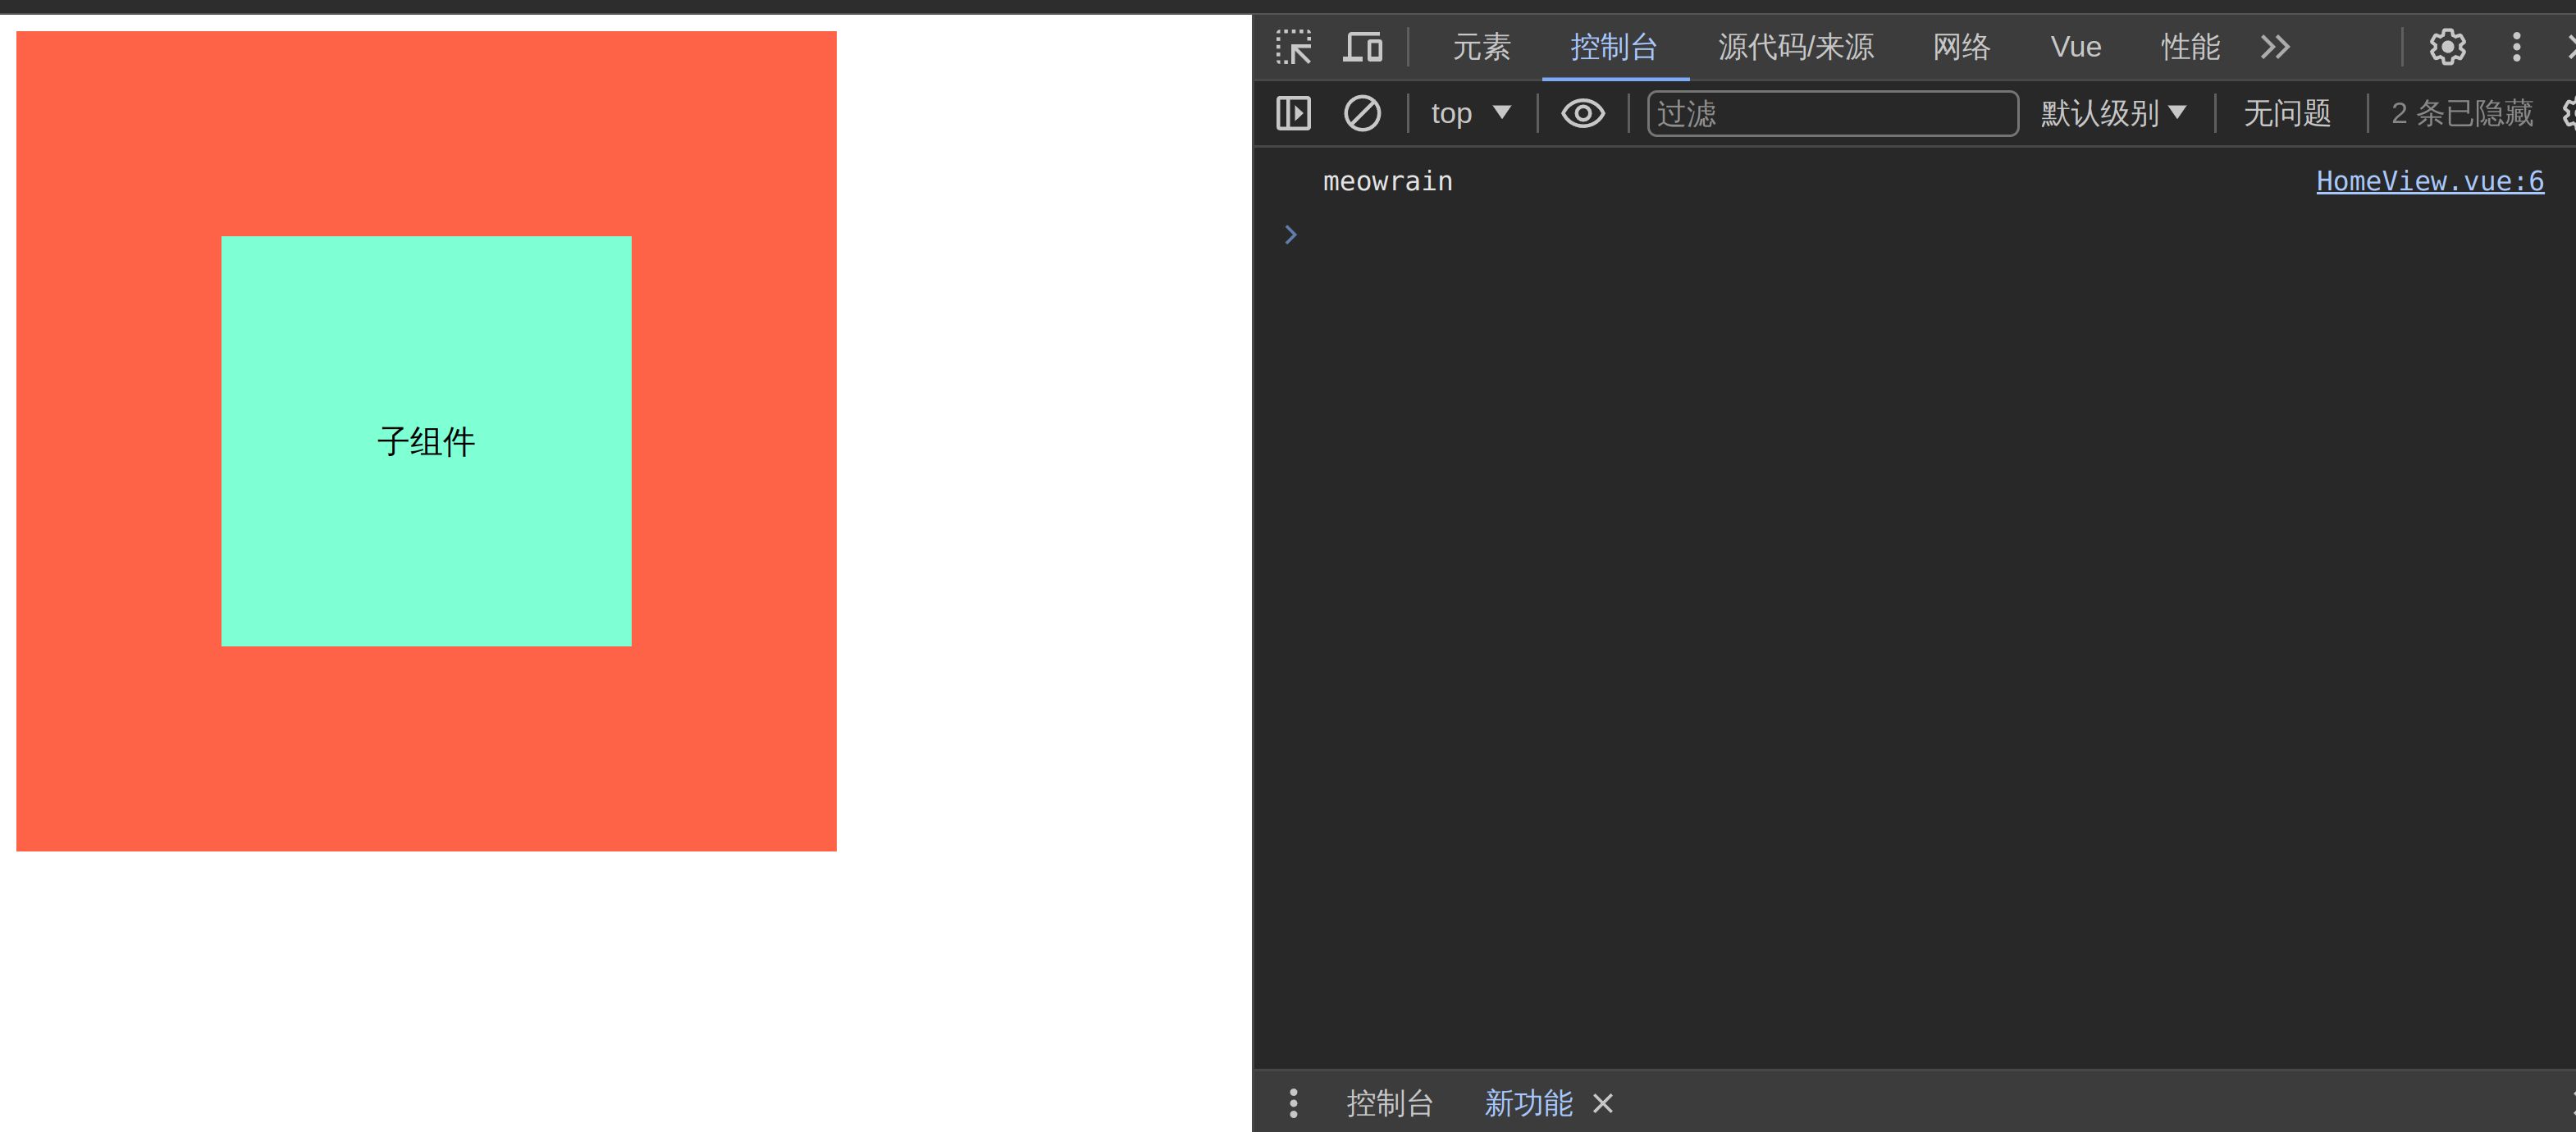
<script setup lang="ts">
defineExpose({name:"meowrain"})
</script>
<template>
    <div class="box">
        <p>子组件</p>
    </div>
</template>
<style scoped>
.box {
    width:200px;
    height:200px;
    background-color: aquamarine;
    display: flex;
    align-items: center;
    justify-content: center;
}
</style>
|
父组件
 1
 2
 3
 4
 5
 6
 7
 8
 9
10
11
12
13
14
15
16
17
18
19
20
21
22
23
24
25
26
|
<script setup lang="ts">
import {onMounted, ref} from 'vue'
import TestView from '../views/TestView.vue'
const testView = ref<InstanceType<typeof TestView>>();
onMounted(()=>{
    console.log(testView.value?.name);
})
</script>

<template>
  <div class="parentBox">
    <TestView ref="testView"/>

  </div>
</template>
<style>
.parentBox {

    width:400px;
    height:400px;
    background-color: tomato;
    display: flex;
    align-items: center;
    justify-content: center;
}
</style>
|
使用 onMounted 函数是为了获取值,因为我们必须在子组件 mounted 之后,才能拿到值


